What Should You Put on Your Scrapbook Cover
You've finally finished your scrapbook album and you're ready to make the cover ... or maybe you haven't started yet and are super excited about creating the cover first.
Either way, you're a little stuck on scrapbook cover ideas and what you should put on it, we'll show you how to scrapbook photos and other elements to create the best cover for your album.
Well, there are a couple of elements that are essential to the cover of your scrapbook as well as some non-essentials that are just really nice to have to make your scrapbook cover stunning.
Table Of Contents:
The Essential Elements
a. Words
b. Timestamp
The Non-essential Elements
a. Memorabilia
b. Reprint Photographs
c. Fun Embellishments
Combine Essentials and Non-essentials to Create a Theme
What You Shouldn't Put on Your Cover
Final Thoughts
Let's start with the essential elements!
Essential elements for your DIY scrapbook album cover include words and a timestamp of some sort. Both of these elements will help you identify the scrapbook when you want to get it out and flick through the gorgeous pages again.
It may not seem important now, but decades from now when you have made numerous creative scrapbooking albums, either yourself or your family will need to know what's inside the pages by looking at the cover.
Words tell the story
Make sure your words actually reflect what's inside the pages. A scrapbooking album layout dedicated to Disney Holidays could say "Disney Memories" on the front. Alternatively, a couple's scrapbook may be simply titled, "The Story of Us".
The example below is a simple cover using only words and a handpainted background. The title on this scrapbook cover makes it clear that it contains photographs from a couple's adventures living in their van.
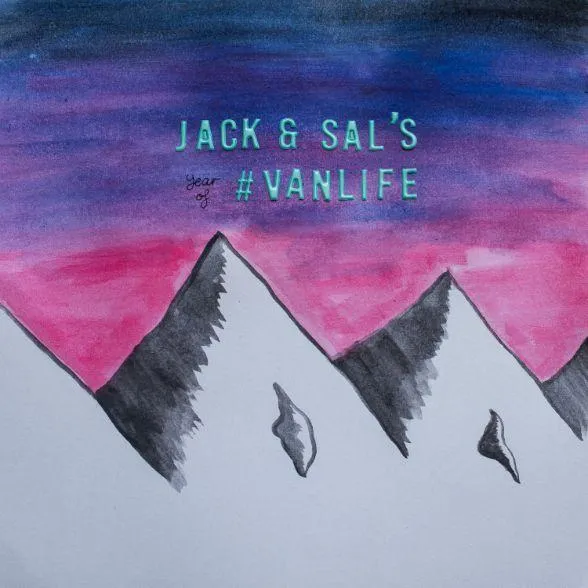
A wonderful ambient layout with a wonderful color contrast!
The example below is a very simple cover containing words only. It clearly shows what to expect within the pages of this scrapbook. Duhhhh ... it's a love story!
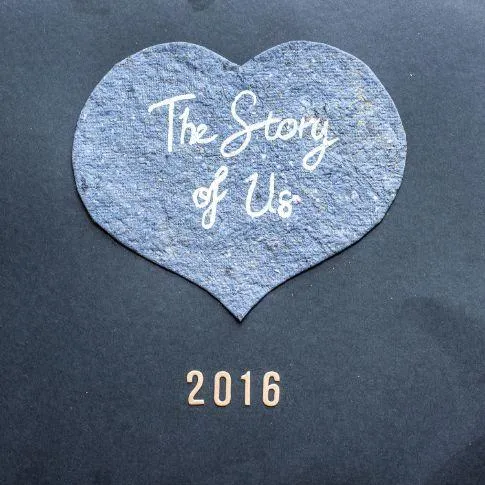
Subtle but elegant scrapbook layout!
Don't forget to include a timestamp!
Including a timestamp of some sort on your cover is really important as it tells us the time period that we can expect to follow of a person's life when we open the scrapbook to browse the memory pages.
If your scrapbook is open-ended and you plan to continue adding pages, consider adding a beginning times stamp like in the example below.
The words est. 2016 shows that this scrapbook begins in that particular year and given that est. is short for established (usually talking about a business), it's a little bit of a play on words for the year this couple became an item.
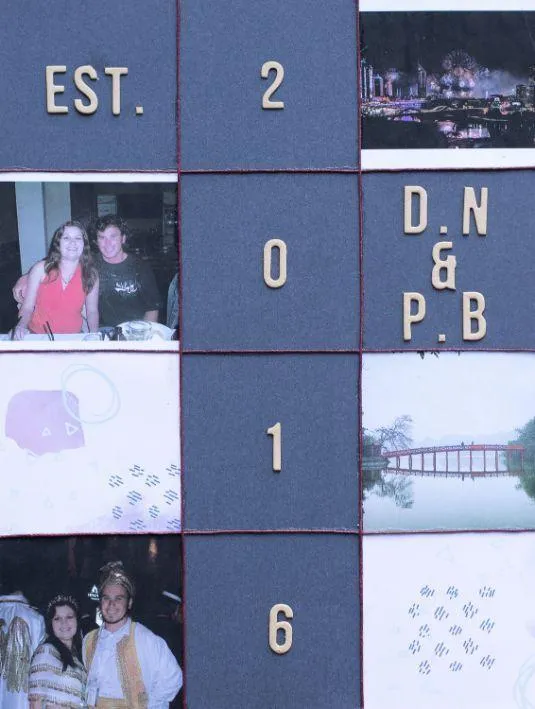
A scrapbook layout that relieves the early stages of a couple's relationship!
In the example below, the time stamp of 2020 makes it really clear that it will contain photos from that particular year. Although the time stamp doesn't tell the whole story, combined with the words, it gives us enough information to tell us that this scrapbook is all about dance in 2020.
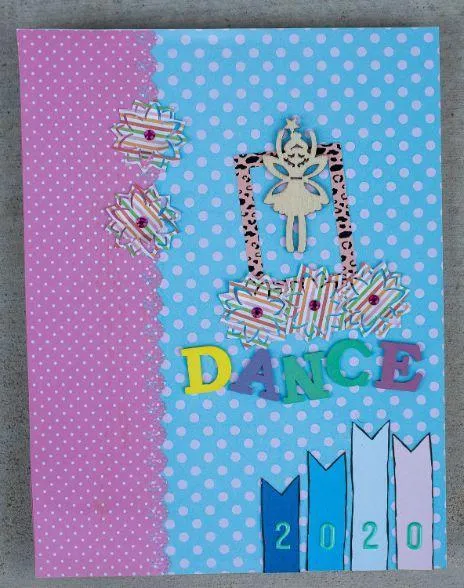
This layout was designed to highlight the most memorable moments the your year!


Non-essential front DIY cover elements
Although the following are kind of non-essential scrapbook cover elements when it comes to identifying what's inside the album, they are really important as they tell a much bigger picture and quickly turn your album cover from drab to fab.
After all, turning your photos from drab to fab is what makes scrapbooking so great, right? Just like your normal scrapbook pages, memorabilia, photographs, page embellishments or a theme can all be included on your scrapbook cover.
Preserve those memories with a hint of memorabilia
The ticket, stickers, memorabilia, and postcard in the example below really add a special element to the front cover, Telling us a little more about what we can expect to find inside the album.
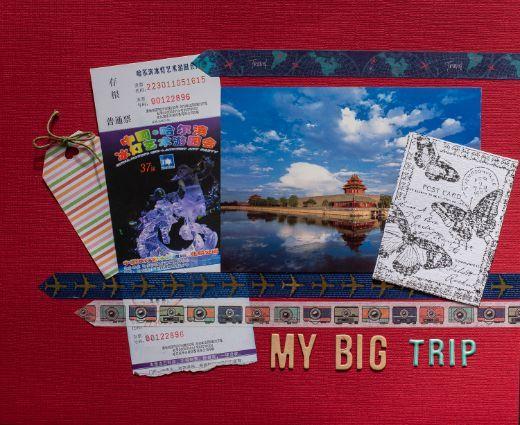
Use memorabilia to highlight the best parts of your trip!
In the example below, I have created some embellishments made from an attraction ticket and a vintage button. These could easily be incorporated onto the front page of a scrapbook to help tell the story and add a little interest.
Rather than use original ticket stubs, make sure you scan them and re-print them so your treasured memento doesn't get ruined. But if you do, use a plastic cover to protect your project. With a DIY cover for your scrapbook, it also acts like a simple scrapbook page.
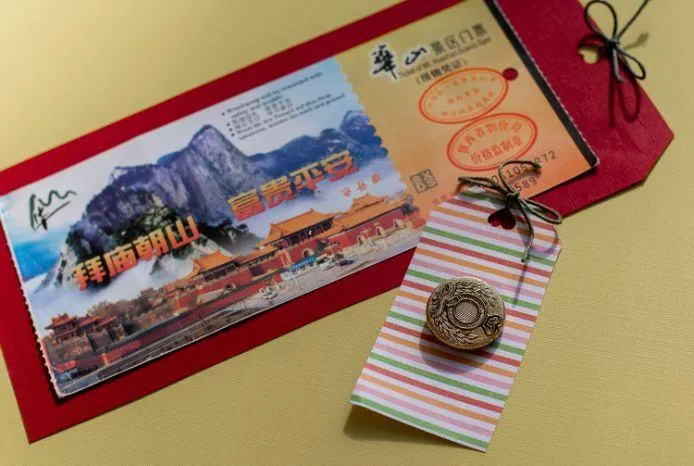
Memorabilia's makes for a great embellishment for your layout!
Reprint some photographs for the cover
By including a second print of some photos that are featured in the album, we can really tell the story of what's inside the album.
In the example below, photos from a road trip are included on the front cover making it very clear who is featured in this album and possibly even where they went.
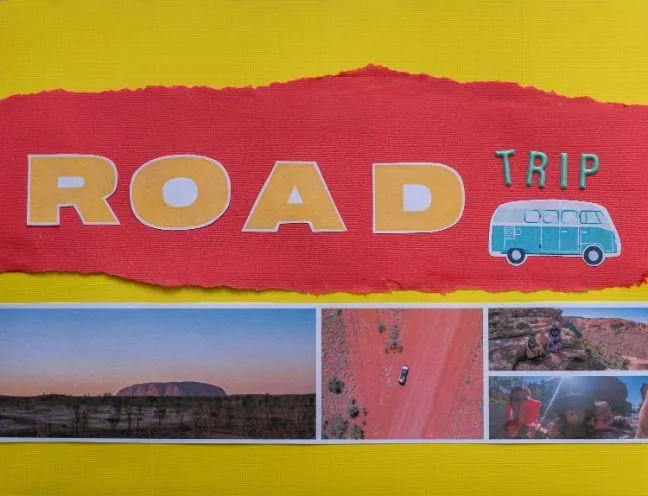
Use pictures of your road trip as build-up of what we can expect to find inside your album!
Below is a very simple example of how your photo can tell the whole story of every page on your scrapbook, in this case, identifying who the family is above the words ''my family''.
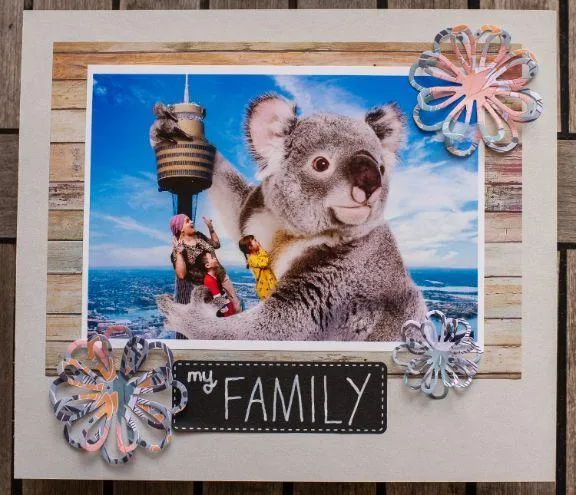
A lovely layout using die cut flower embellishments!
Don't forget the fun embellishments
For me, creating embellishments is half the fun of creating scrapbooking pages and they can absolutely be used on your scrapbook cover as well. See my thoughts on what you shouldn't include on your album cover a little further down for some handy tips on this.
The below DIY embellishment is just fun and would look great as a feature embellishment on the front cover of a scrapping album. You can print your own stickers, add your own origami or cut-outs or do your own journaling craft on the cover of your scrapbook.
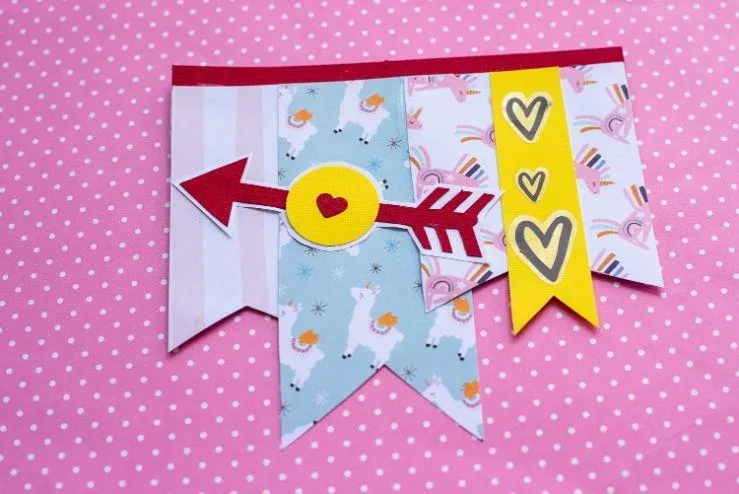
A simple DIY embellishment using scrap paper cutouts!
Embellishments don't have to be fancy. The below example is incredibly simple, made only from washi tape and buttons. It leaves lots of space for the words, timestamps, craft titles or, scrapbook journaling which will tell the story of what's inside the album.
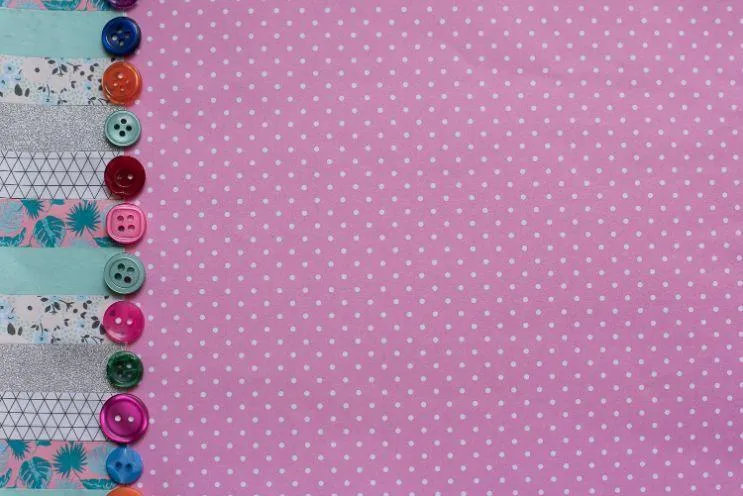
You can use simple household supplies as embellishments!
Combine all the above to create a theme
Combining some or all of the elements above to create a theme shows us exactly what to expect within the pages of the album. The below theme makes it obvious that this album contains treasured travel-related memories. We don't always need a photo to tell the story!
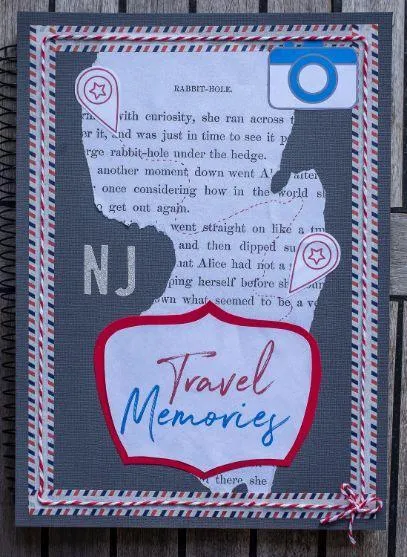
For the border, I used washi tapes and a piece of red and white string
Ahhhh a baby album ... such a beautiful theme. I still love going through my kids baby albums and comparing how they've grown. Even without a photo, all of the mini elements make it very obvious that this album is a baby album!
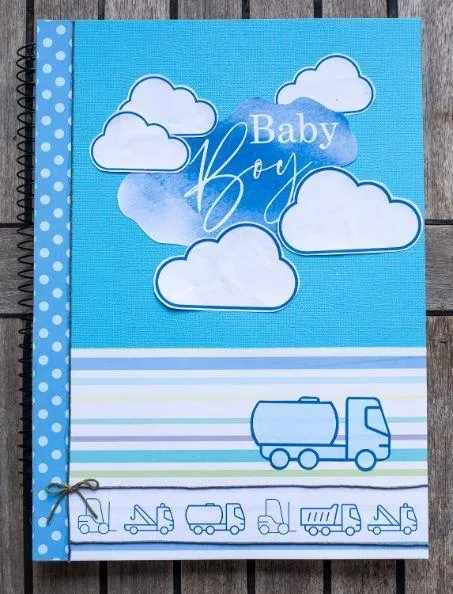
A simple scrapbook layout using printable cutout embellishments!


What shouldn't I put on my scrapbook cover?
Your scrapbooking cover will be handled a lot, and may even touch up against other scrapbook albums in your collection when you store them and slide them out to look at them.
Try to keep this in mind when creating an embellishment for the scrapbook cover. Any craft that's too flimsy (such as a delicate paper flower) could possibly get ripped or ruined, as will anything that sticks out too much like gift or scrap embellishments made of metal or wood.
The front cover of your album will also see more dust than the rest of the album, after all, it's the cover. It's what protects the rest of the scrapbook from the outside world. When designing the elements of your front cover, keep in mind that it may need dusting every now and then.
Thoughts on scrapbook covers ...
It doesn't matter if you create your scrapbook cover when you complete the album, or when you start the album, or somewhere in the middle. But regardless of when you do, make sure you remove your inside scrapbooking pages to do so while you work on it.
Scrapbook covers can be simple with just words and a timestamps, or they can be elaborate with stunning themes. Whatever your scrapping ideas are, make sure to tell the story of what is contained inside your papercraft album.
Do you prefer simple yet elegant scrapbook cover ideas or more elaborate and showy designs? Either way, I would love to see some of your scrapbook cover ideas!
If you are looking for more inspiring layouts, check out our books and learn plenty of wonderful ways to design your page!
HERE'S SOME OTHER SCRAPBOOKING ARTICLES THAT YOU MAY FIND HELPFUL
The Top 5 Scrapbooking Tools That Are Proven To Help You Create Better Layouts
12×12 Scrapbook Layouts Tips You Should Never Miss!
5 Tips To Creating Catchy Scrapbook Titles For Your Layouts
TOP 5 Scrapbooking Ideas I LOVE!
How to Scrapbook: The Ultimate 'Learning How to Scrapbook for Beginners'
Scrapbooking Tips: 10 Tips To Help You Create Even More Enchanting Pages!
5 Simple Scrapbook Organization Ideas and Tips!
Scrapbook Stores Online: Shop from the Top 7 Best Craft Stores
Contact Us | Login | Store | About | Reviews | Privacy Policy | Terms & Conditions | Returns
Copyright © 2025 by ScrapbookingCoach.com
We accept payment with:

