The Secrets On How To Make A Scrapbook Page That's Eye
Catching!
Sometimes it's hard to keep the inspiration when you are trying to come up with ideas for scrapbook layouts. You might feel that you have run out of ideas or just starting out and really don't know where to begin.
Either way, the following chapters will help you create an eye catching layout!
When you're learning how to scrapbook, you need to have in mind what you want to create and for what purpose.
For example, you may want to create a full book, just a page, or even a poster. Don't let a full book overwhelm you it's better to start off small than not start at all! Traditionally scrapbooking pages are 8 X 8 which maybe a good place to start. A lot of the scrapbooking paper, borders etc are based on 8 X 8.
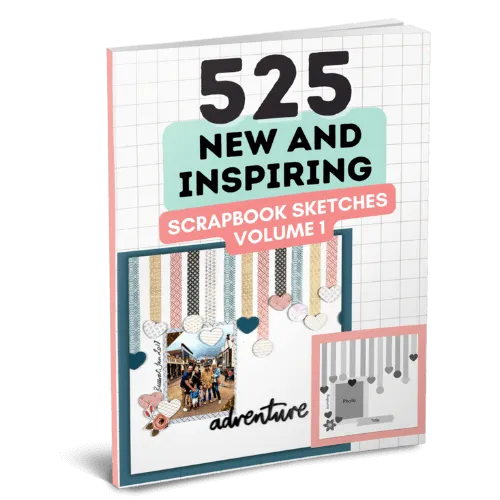
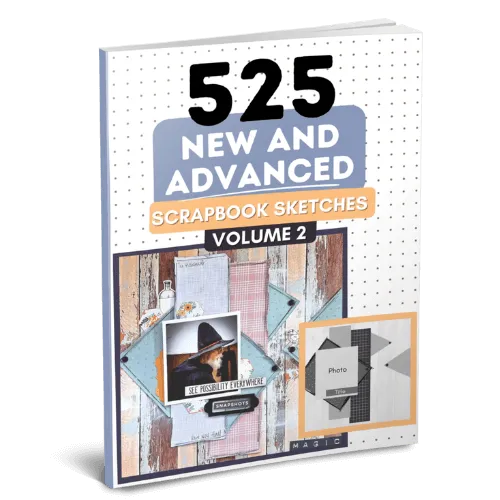
Want more eye catching layout ideas for your scrapbook page? Click here and check out our Books for more amazing layouts!
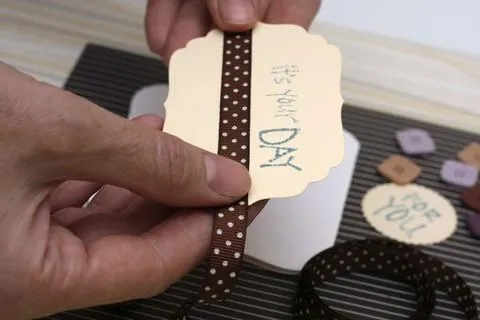
However if you are not beginning scrapbooking and are more experienced try something new that compliments your theme.
For office memories create a Rolodex scrapbook album with your pages on each Rolodex page. Or if you are creating a family scrapbook album present your scrapbook pages as a family tree theme. To take that idea further each page could be a leaf of the tree. You could choose colors that compliment this such as greens, browns and pressed leaves and flowers as decoration.


Creating a scrapbook album the right way (don't do this properly and you'll regret it!)
There are two ways to gather your ideas and thoughts on your scrapbooking layout
1) Collect photos keepsakes, scrapbook supplies such as magazine cuttings, scrapbook paper, colored cards, ribbons, buttons that are relevant to your topic and design a layout around that. e.g. From your holiday you might have the tickets, photos, receipts and menus. Put these all together and work out what works best for the page size you have chosen. Then you can begin to see what colors you would like to use, what sort of border etc. Or
2) Decide on your color and theme, what style of patterned papers to use from the start e.g take the colors from your wedding or blue for a baby boy and then gather all relevant pieces, photos, borders, colored card that relates to this color.
Deciding which way works best for you will depend on your topic and stage you are currently in. You may be about to have a baby and want to capture all of your memories in a scrap book or find yourself with loads of photos, cards and keepsakes and want to present them in a scrap book. For the latter choose number 1.
Either way, map out your layout and design first. It is critical to the overall look and feel of your book. You need to know how much space you have got and how many photos you can include.
Don't glue anything onto your page till you do this!
Get a plain piece of scrapbook paper (exactly the same size as your page) and a pencil. Sketch a plan of how you want your scrapbook to look and where you want to place your photos, text and pictures. Don't worry too much at this stage about the small decorative bits, these can be added later.
Tip: Acid free is your best friend! If you're set with the placement of your scrapbook album elements, use acid free adhesive when adhering them to your page to help preserve your scrapbook page.
Now that you have the plan you can get started. Arrange everything on your scrapbooking page as per your plan and when you are happy with everything start sticking using acid free adhesives. Don't get the glue until you are 100% happy. You can either do this for your entire book or page by page.
Top tips that make creating a scrapbook page EASY
1) Color -choose a color and patterned paper relevant to your topic, or better style to enhance your content ideas– make a scrapbook page that is color blue for baby boy, oranges/yellows/reds for holiday in fall.
Warning – too many colors and different combinations of patterned papers can be overpowering.
Stick to a few colors, simple patterned paper and stay with that theme to get a uniformed look.
You may be thinking that you want an eclectic look rather than uniformed. This may work for certain topics but can look very messy very quickly.
It can be hard to really make something stand out if there's a lot going on. If you have an abundance of photos, keepsakes, and memories that do not go with the colors and pattern you have chosen you can do one of two things:
A) include inside an envelop stuck to the page
B) choose a different theme and color for each page. More your photos to the page that has matching colors.
2) Background – find a background that compliments the content not swamps it.
It also helps to have a plain background if you have a lot to fit on the page. Use topical backgrounds.
For example for a university memories scrap book you might use your old essays printed on colored paper with a pale colored font.
3) Presentation style/format– this will depend on the way it's to be presented – in a book, poster or card etc.
Consider your topic and choose a presentation style that enhances it.
For example, if it's a holiday you want to scrapbook, a great way of presenting it is to make the cover a passport cover each page could have a traditional passport page as background or suitcase with luggage tags attached.
4) Text and how it's presented – you may want to frame this, use your own handwriting or stencils.

Choosing what to write is just as important as the way it's presented. There's nothing worse than too much text that you can't be bothered to read or too little that you don't know what you are looking at.
Capture your memories in a short and punchy way. 1-2 sentences at most. Include information that in future would be interesting to you.
Don't include the obvious as the photo will tell a thousand words. Including the date may seem irrelevant at the time but in years to come when the lives in the book have moved those left behind can piece together so much with a date.
When you want to include more text than your page will allow, present it in envelopes or tags, hide it under flaps or hang photos from the scrapbook page and have text written on the back.
Whatever you decide about the layout of your page, remember this work of art is your creation of memories and thoughts, go with what works best for you and enjoy the process. There is no right or wrong way with creating scrapbook pages.
Topic: Scrapbooking Made Simple
HERE'S SOME OTHER SCRAPBOOKING ARTICLES THAT YOU MAY FIND HELPFUL
The Top 5 Scrapbooking Tools That Are Proven To Help You Create Better Layouts
12×12 Scrapbook Layouts Tips You Should Never Miss!
5 Tips To Creating Catchy Scrapbook Titles For Your Layouts
TOP 5 Scrapbooking Ideas I LOVE!
How to Scrapbook: The Ultimate 'Learning How to Scrapbook for Beginners'
Scrapbooking Tips: 10 Tips To Help You Create Even More Enchanting Pages!
5 Simple Scrapbook Organization Ideas and Tips!
Scrapbook Stores Online: Shop from the Top 7 Best Craft Stores
Contact Us | Login | Store | About | Reviews | Privacy Policy | Terms & Conditions | Returns
Copyright © 2025 by ScrapbookingCoach.com
We accept payment with:

