
SCRAPBOOKING ROOM IDEAS: HOW TO ORGANIZE YOUR SCRAPBOOKING
ROOM IN NO TIME!
Ugggghh! An unorganized scrapbooking room is frustrating, right? Especially for those of us who need everything to have a proper place and packed away properly. My scrapbooking room ideas are grand, however, my scrapbooking space is also my sewing room and my work office. As that I can't concentrate on work when there is a mess around me (it clutters my mind), I've become quite the expert on organizing my scrapbook supplies.

Trust me, I know how hard it is to take that first step towards scrapbooking craft room organization so I'm sharing my top tips with you. Here are 11 scrapbooking craft room ideas that will help you organize your craft space in no time!
TABLE OF CONTENTS:
1. One Section At A Time
2. Organize Your Cardstock & Paper
3. Diy Storage Solutions
4. Vertical Spaces
5. Peg Board
6. Frequently Used Items
7. Cull Back Unused Supplies
8. Matching Containers
9. Label Everything
10. Dedicated Storage Solutions
11. Store Behind Closed Doors
IDEA #1 - TACKLE ONE SECTION AT A TIME ONLY
The secret to achieving your scrapbook organization ideas and goals for my scrapbooking room and ideas is to tackle one section at a time. The best part? You don't have to do it all at once. Breaking it down into smaller chunks makes the whole process a lot easier and a lot less daunting.
For those of you who are time-poor, it's quite okay to tackle one section a week. You will get there eventually and some sections don't take much time, allowing you to achieve a lot in a small amount of time. Although your cardstock may take a while to sort through (see the next idea for tips on this), things like adhesives and scissors are a quick organization job as most people don't have many of these.
Avoid being overwhelmed organizing your scrapbook room by tackling one section at a time.

IDEA #2 - ORGANIZE YOUR CARDSTOCK & PAPER BY BOTH THEME & COLOR
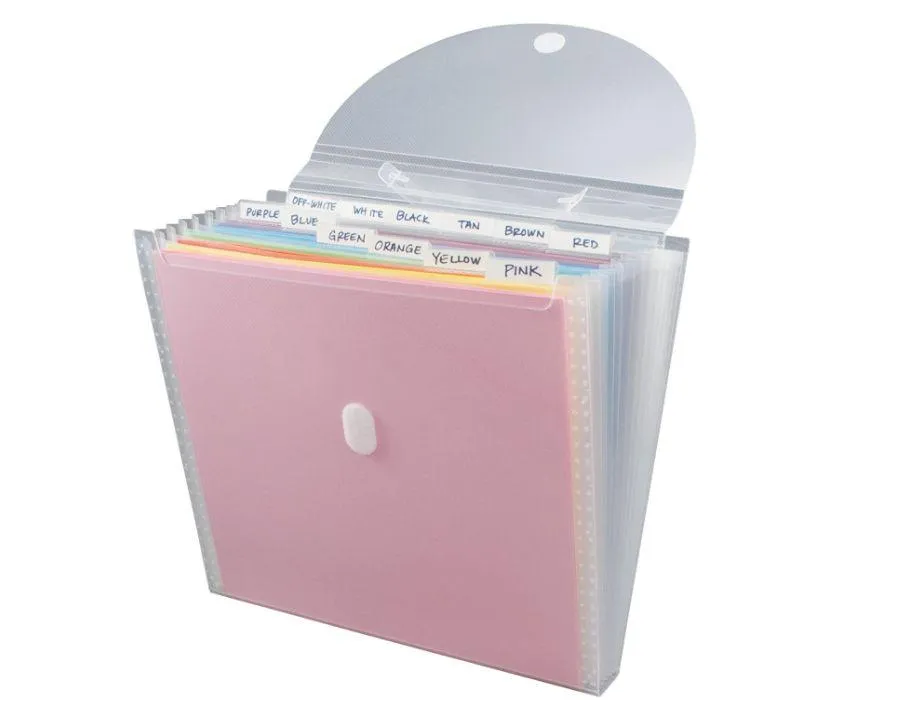
Once you settle on a storage solution for your cardstock and paper, make sure to sort it properly before you pack it away. This is done by sorting it first by theme, and then by color.
First, sort your paper into common themes such as seasons, birthday prints, Christmas, solid colors, etc. Now, grab one of your theme stacks and further sort it by color. This is as simple as placing similar color cardstock together. When it comes to patterned pieces, just pick a dominant color and don't spend too much time thinking about it.
You can see in the storage paper organizer below that these plain colored cardstock pieces have been sorted by color.
IDEA #3 - DIY STORAGE SOLUTIONS TO SAVE MONEY
If you're wallet is a little light when it comes time to getting on top of your scrapbook craft room ideas, don't be afraid to try some DIY scrapbook organization ideas. Old cans can be painted and decorated to hold pens and markers, and old shoeboxes look amazing covered in patterned paper to store embellishments.
Check out this clever tutorial for a DIY Washi Tape dispenser!

You don't have to buy expensive furniture to keep your craft room organized.
IDEA #4 - MAKE USE OF VERTICAL SPACE
Don't worry if you don't have a large space to work with. There are lots of scrapbook craft room ideas intended for smaller spaces. My favorite? Make use of the vertical space in your room such as walls, the sides of cupboard and the back of doors.
A magnetic strip on the back of a cupboard door will hold your scissors in place, or invest in some hanging storage solutions like the over-the-door paper holder below.
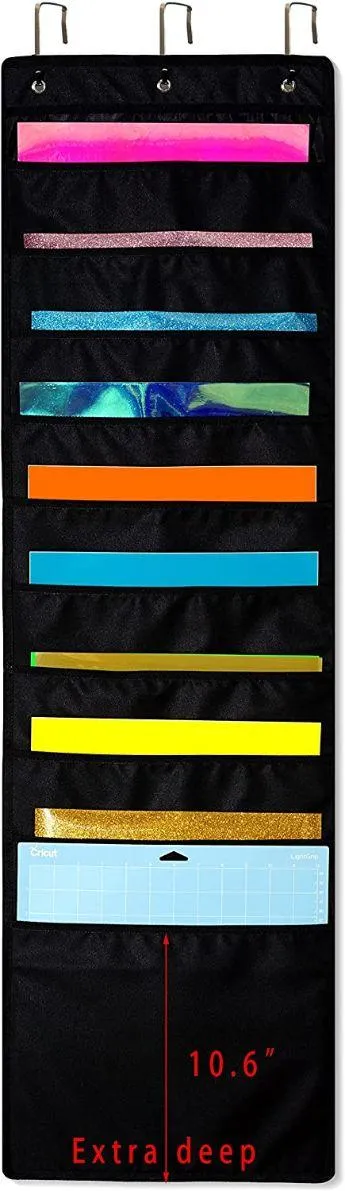
You can hang these paper holders on your cabinet and closet doors to save space.
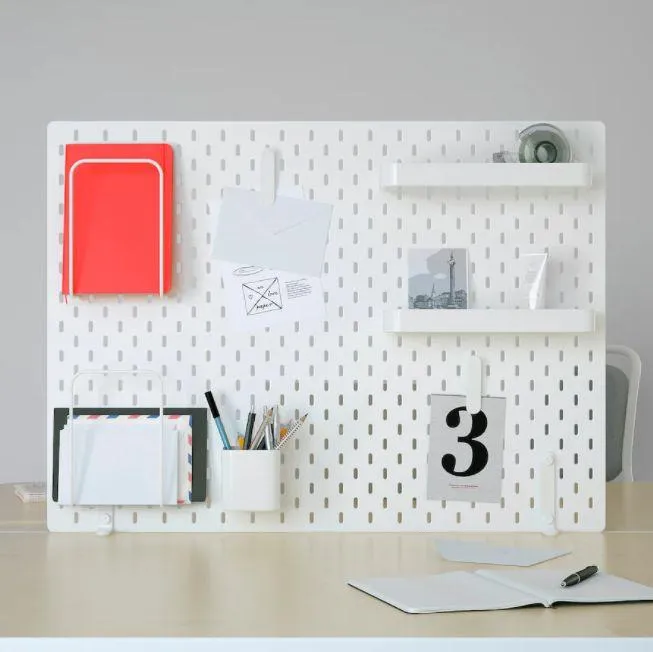
IDEA #5 - SET UP A PEG BOARD
Set up a peg-board above your desk for all of your smaller crafting supplies that are frequently used. The IKEA peg board below has really handy cup and tray type storage solutions that are just perfect for pens and markers.
IDEA #6 - KEEP FREQUENTLY USED ITEMS WITHIN EASY REACH IN NEAT CONTAINERS
It's nice and neat to keep everything out of site but in reality, it's a little impractical. When working on your scrapbooking craft room organization ideas, make sure to get some neat storage solutions that can live on your desk or very close by for all of your frequently used items such as craft knives and adhesives.
A small desktop organizer like the one below is a great way to keep things neat on your desk while still keeping them within reach.
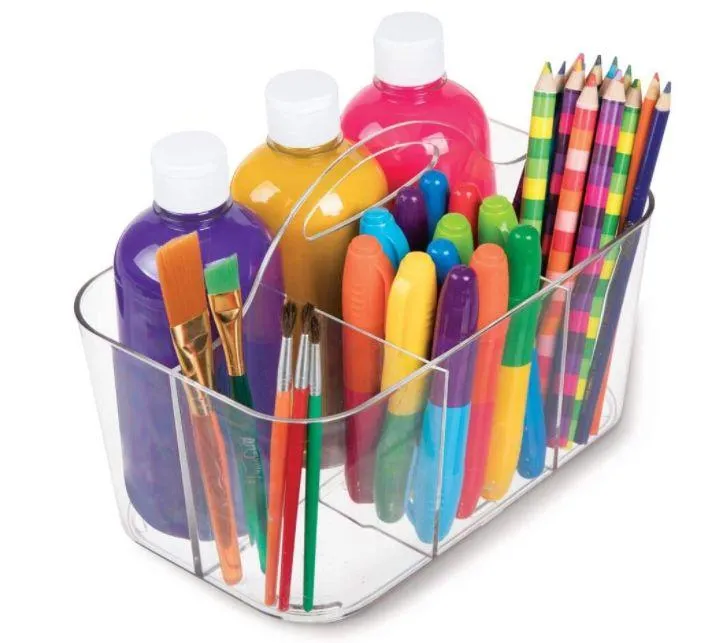
Desktop organizers are also great for storing small scrapbook supplies
IDEA #7 - CULL BACK YOUR UNUSED SCRAPBOOKING SUPPLIES
Culling back unused supplies is a hard, but necessary step in achieving your scrapbooking room organization ideas. You will need to be brutal as you sort your supplies into the four different categories of keep, recycle, donate and trash.
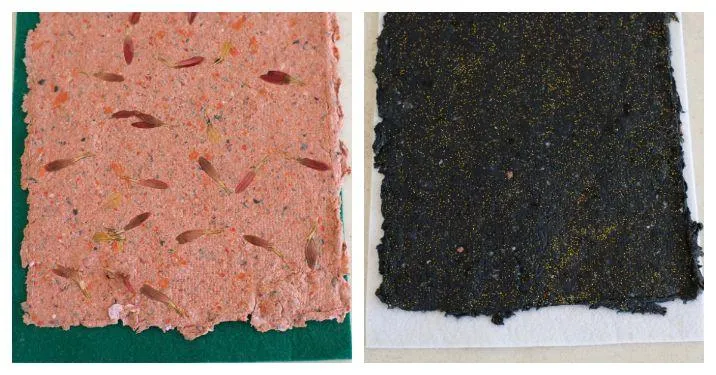
I struggle with adding things to the trash pile and absolutely love it when I can find a way to recycle scrapbooking supplies that are no longer being used. One great way to recycle your scrap paper pile, particularly the patterns and colors you no longer like, is to recycle your paper into some cool one-of-a-kind DIY cardstock.
Check out our tutorial on diy recycled paper and start recycling your scrap papers!
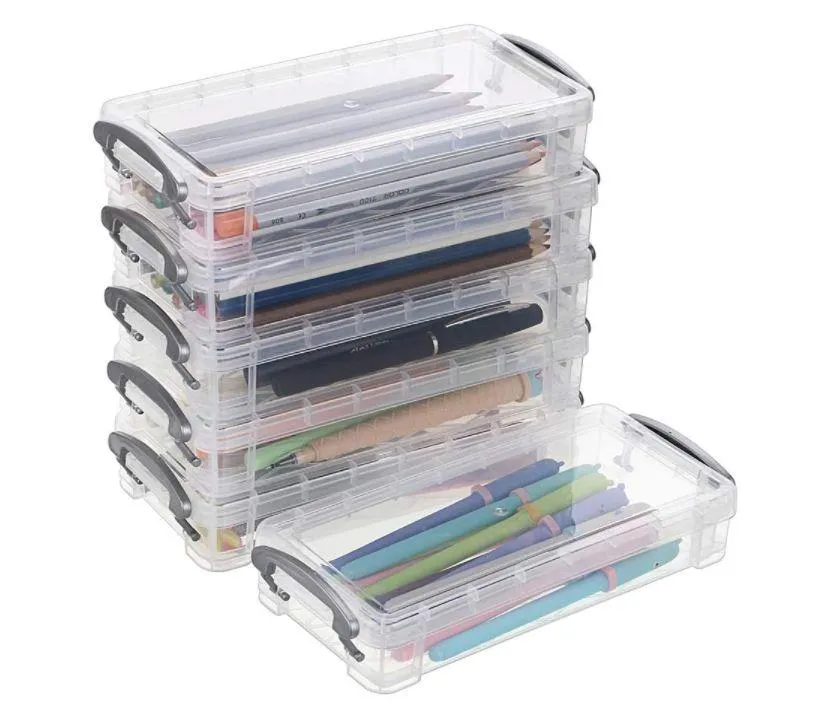
IDEA #8 - GET MATCHING CONTAINERS
One of my favorite scrapbooking craft room ideas is to make sure that your storage containers are matching. It makes your organization efforts look neater and well, it's just strangely satisfying. It doesn't matter what storage containers you use, wether it's recycled shoeboxes or purchased plastic storage containers like the ones below, just make sure you get multiples of the same thing so it looks nice and neat.
IDEA #9 - LABEL EVERYTHING
Once you have organized a section of your supplies, finish off your scrapbook room organization by labelling everything properly. This is particularly important for storage containers that you can't see in and it will save you a lot of time and frustration later when you can't remember exactly which container you put that particular embellishment in.
Now, it doesn't matter if you DIY your own amazing labels or use a handy label maker like the one below, just make sure your labels are matching to keep everything looking organized.
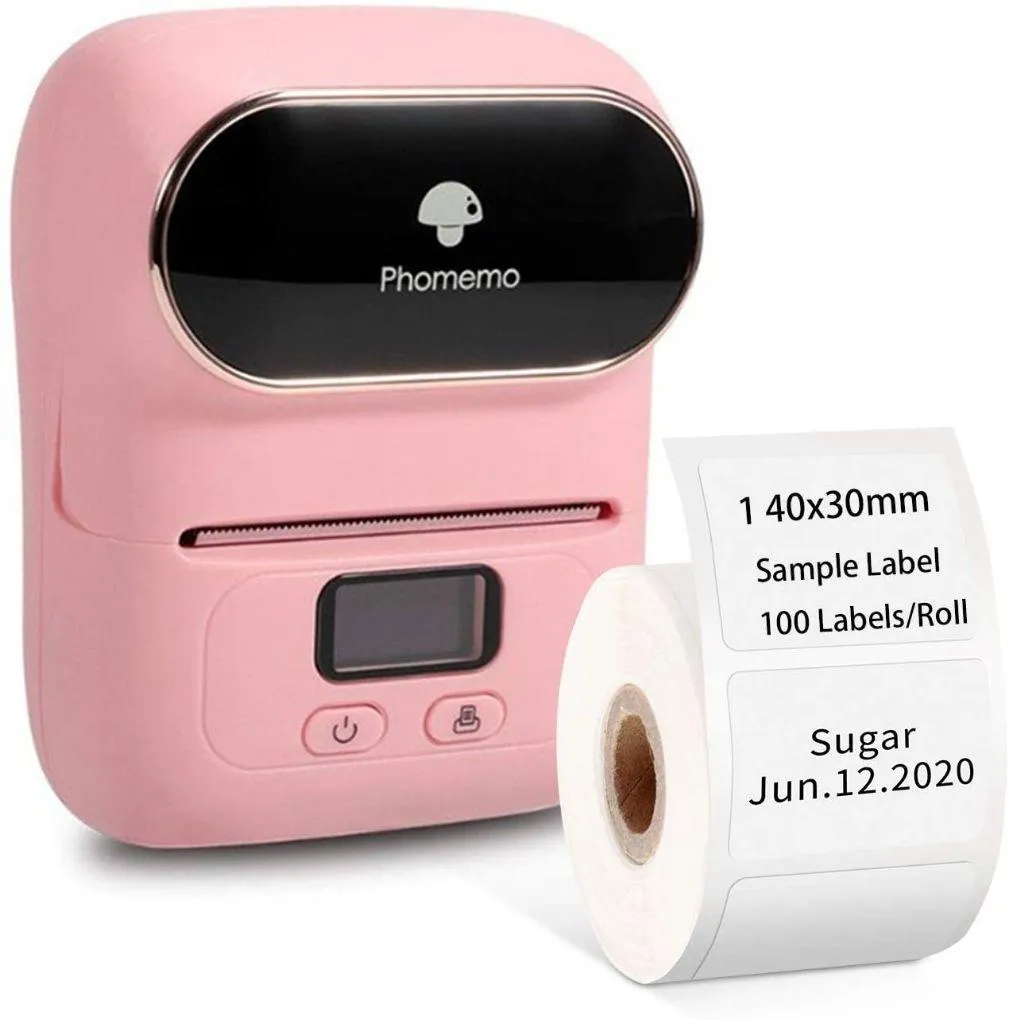
Keep track of your supplies by labeling their containers.

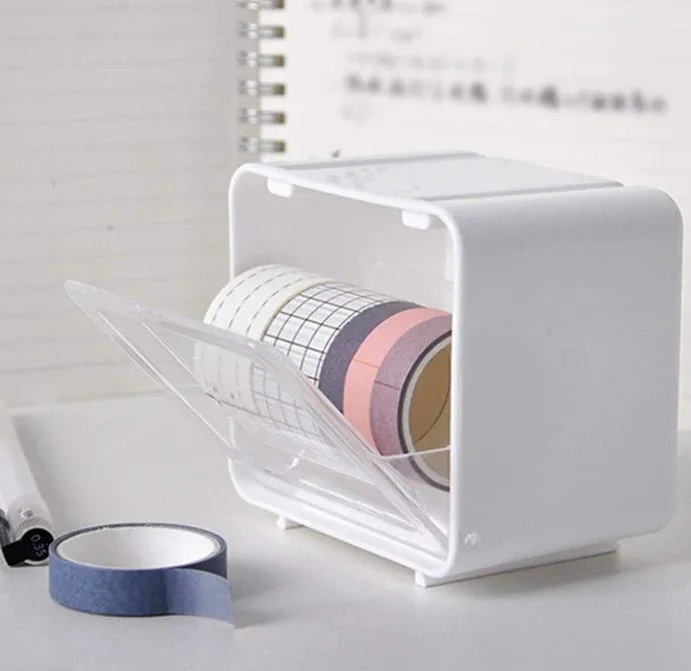
IDEA #10 - TREAT YOURSELF TO DEDICATED STORAGE SOLUTIONS
To really level up your scrapbook room ideas, treat yourself to some dedicated storage solutions for specific scrapbooking supplies. This could include a fancy pen holder for your marker collection, a paper tower for your scrapbook paper, or a stamp storage case for all of your stamp supplies.
I just love this super cute washi tape dispenser!. It doesn't hold much tape but it looks neat and tidy and keeps your favorite tape within easy reach on your table.
IDEA #11 - STORE LESS FREQUENTLY USED ITEMS BEHIND CLOSED DOORS
Another of my favorite scrapbook craft room ideas that keeps your room looking particularly tidy is to store less frequently used items behind closed doors. How neat does this white storage solution from IKEA look?
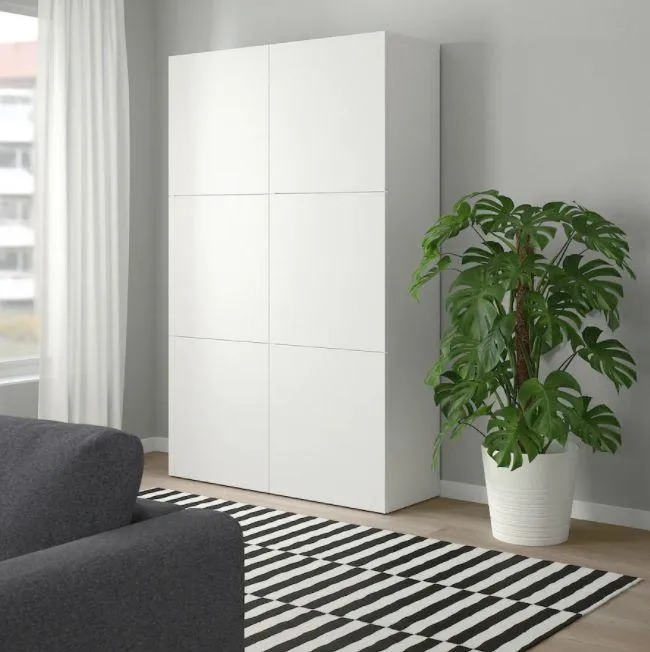
Keep your craft rooms organized is by getting storage furniture like cabinets and drawers.
DOES YOUR SCRAPBOOKING ROOM NEED A MAKEOVER?
I know the process of organizing your scrapbooking room can seem daunting, but hopefully these tips have given you some scrapbook craft room ideas to make a start on perfecting your creative space. We would love to see some of your scrapbook craft room ideas once you have finished.
Happy scrapping!
OUR BEST SELLING BOOKS


HERE'S SOME OTHER SCRAPBOOKING ARTICLES THAT YOU MAY FIND HELPFUL
The Top 5 Scrapbooking Tools That Are Proven To Help You Create Better Layouts
12×12 Scrapbook Layouts Tips You Should Never Miss!
5 Tips To Creating Catchy Scrapbook Titles For Your Layouts
TOP 5 Scrapbooking Ideas I LOVE!
How to Scrapbook: The Ultimate 'Learning How to Scrapbook for Beginners'
Scrapbooking Tips: 10 Tips To Help You Create Even More Enchanting Pages!
5 Simple Scrapbook Organization Ideas and Tips!
Scrapbook Stores Online: Shop from the Top 7 Best Craft Stores
Contact Us | Login | Store | About | Reviews | Privacy Policy | Terms & Conditions | Returns
Copyright © 2025 by ScrapbookingCoach.com
We accept payment with:
