Scrapbooking Made Simple: 5 Steps To Create Pages Fast!
At last! Scrapbooking made simple. In this free guide, we'll break down the 5 steps on how to effortlessly make a scrapbook page so you can have a completed scrapbook layouts you can be proud of.
To help you with simplifying scrapbooking, here are the items that are necessary to get started putting together a scrapbook album:
♥ Scrapbooking albums and page refills
♥ Dies, Straight edge and patterned scissors
♥ Plain and patterned scrapbook paper
♥ Pen, markers, colored pencils (your choice)
♥ Computer and printer (If you want to print out pictures)
♥ Adhesive
♥ Stickers and decorating embellishments or stamps
♥ Sheet protectors
♥ Photos
The exact supplies you need for making scrapbook pages the easy way will depend on what type of page you want to create. Once you have everything in place, it's now time to begin turning your concepts into reality by following the steps discussed below.
The entire process is very easy, doesn't require any specialized skills, and even young children can do it. All in all, here is a breakdown of how to make a scrapbook quickly and easily.
If you want to learn how to scrapbook then explore our site to get lots of help!
1. Picking Your Photos...The Scrapbooking Made Simple Way!
First and foremost, begin the process by selecting photos on the theme, idea, or event you've decided to work on. Perhaps you want to showcase a certain vacation or your child's first birthday celebration. Or maybe you want to create a scrapbook for a friend or family member. During the creation process, plan on using your photos as a narration of the theme.
Most scrapbook layouts are created in a double page spread, meaning that as you open the book, the pages on the left and right are likely to match in theme and color.
On each scrapbook page you may want to fit three or four photos because when you crowd a page, the result is not always pleasing to the eye. If your photo ideas are not going to work with the double page layout, then you can alternatively create single page layouts. You'll get a feel for this the more often you scrapbook.
Regardless of how many photos you use, keep in mind that the photos ought to go with the theme. Once you have successfully selected a suitable theme, work with the photos and do not be afraid to edit until you find the perfect match. Also keep in mind there really is no right or wrong when it comes to scrapbook made easy, as you can simply do what feels right for you.
Want more to make your scrapbooking hassle-free? Click here and check out our Books and start scrapbooking like a pro!


2. Selecting your Scrapbook Papers
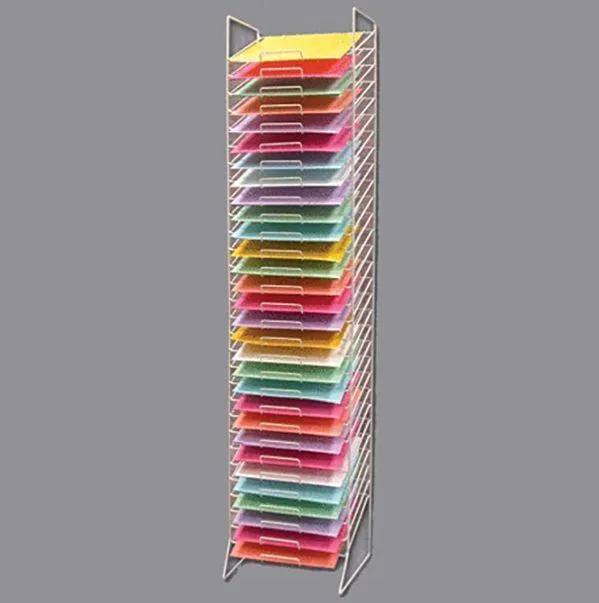
Scrapbooking Made Simple: Keep your scrapbook paper organized!
Once you've successfully picked the photos, the next step involves selecting a patterned paper for your background, which will not only add color to the page, but also depth. By using patterned paper, you'll be able to mirror the story that you are trying to tell with photos. Depending on the theme, look, and style, you may be able to find themed papers that will suit your every need. All in all, when selecting the patterned paper, you should select a pattern that enhances your theme.
For example, for a page of black and white photos, an elegant paper is usually the most suitable paper print. After you have selected a themed paper, you can then go ahead and select a cardstock matt or a coordinating plain paper to frame or mat the photos. It's important to note that if you have selected the double paged spread, then you can either decide to use two background papers that match or you can select two papers that coordinate.
3. Matting the Photos
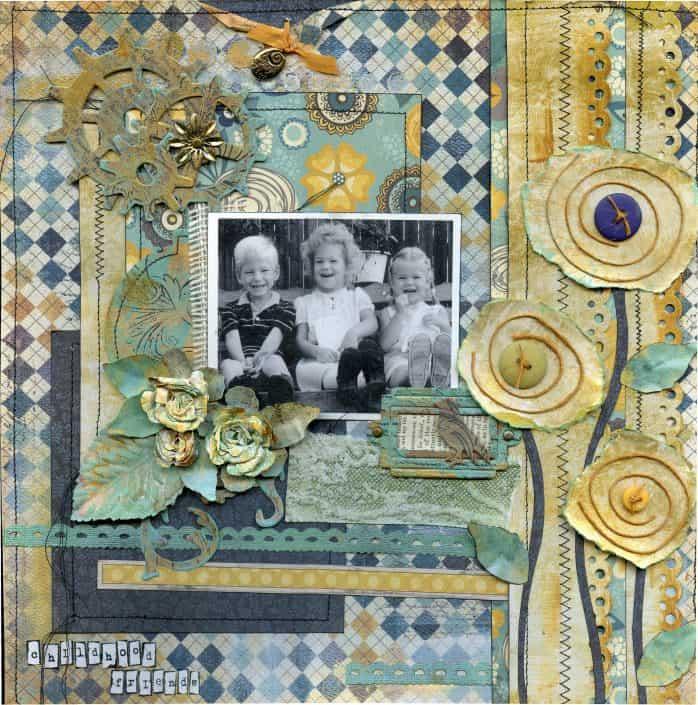
A Straightforward Photo Matte Creates a Focal Point
If you're using patterned paper as the background to the photos, you might want to consider one of the most popular scrapbook ideas - photo matting!
Matting the photo onto a solid color, so that the shapes and colors do not compete with the shapes and colors of the background paper. To mat your photo, simply glue it to a solid matting paper 1/8 to 1/4 inches away from the sides.
After you have glued the photo to the matting paper, then cut the other two sides so that you end up with a frame around the photos. An ideal mat will provide a visual space between the paper and the photo, regardless as to whether you're using a solid color or not. When selecting the color of the mat, you should first consider the dominant color together with the minor colors in the background.
4. Laying out the Page
Now it's time to lay out your page. In this step you'll be arranging all your elements, embellishings, photos, and journaling on the background paper.
Before you glue them, be sure to move them around until you find the perfect combination for you. There are various layouts ideas that you can use for your inspiration. Overlapping various elements, such as the embellishments and photos, will play a key role in connecting them visually; thus making a nice arrangement.
You can also refer to our scrapbook sketches for scrapbooking and use them as a guide on how to arrange your scrapbooking elements.
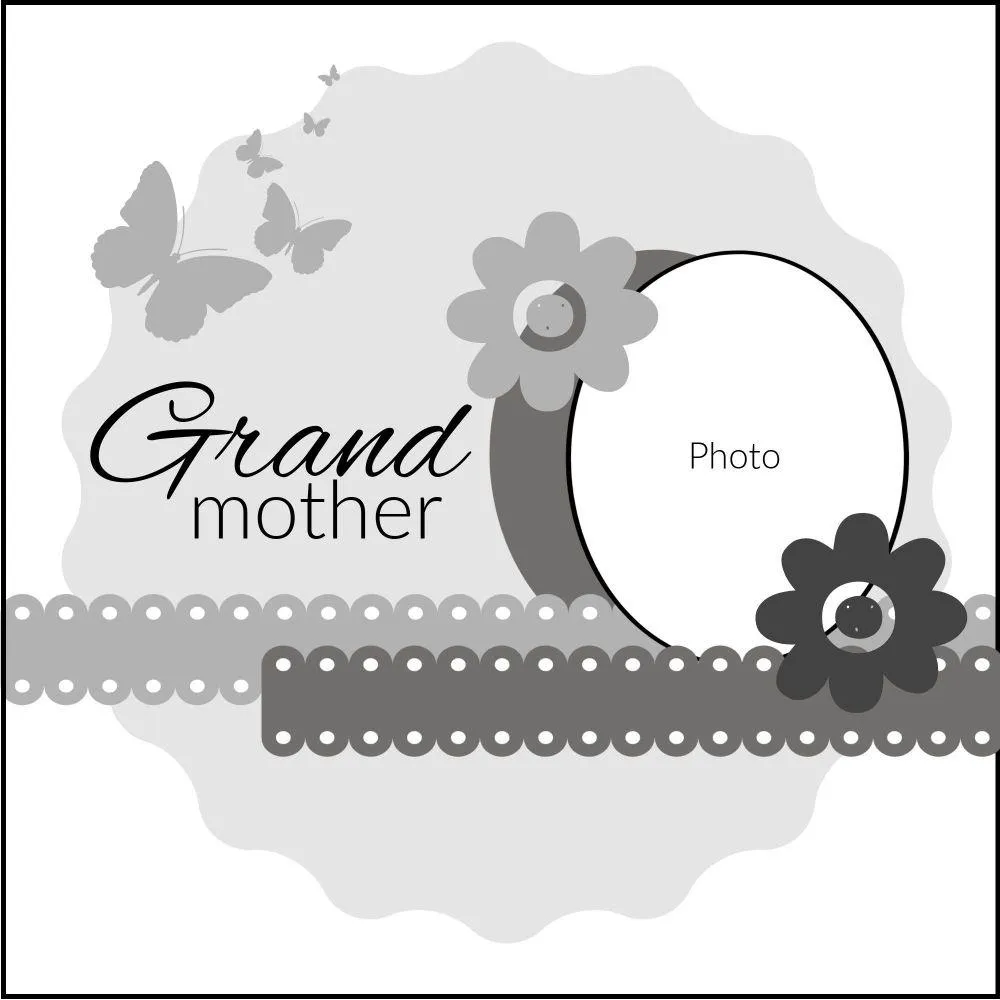
Scrapbooking Made Simple : Crate amazing scrapbook album layouts by following our scrapbook sketches

5. Journaling your Story the Easy Way!
Depending on your preference, you can either decide to write directly into the page or you can write the journal on a separate piece of paper, cut out, and then mat and glue to the page.
This comes in handy just in case you make an error, as you can always flip the paper and start again. If you don't like your handwriting, you can journal on your personal computer and then print it out.
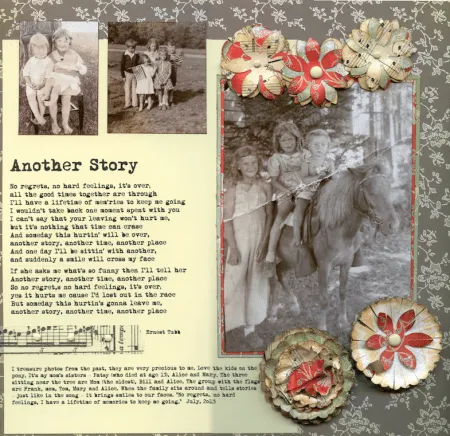
Scrapbooking Made Simple : This Scrapbook Journaling Was Typed Out With A Typewriter!
Scrapbooking Made Simple
Once you have finished working on the scrapbook page, place it in a sheet protector, then into the scrapbook album. For easier addition of pages, three ring binders are highly recommended. Feel free to make as many pages as will fit comfortably in your scrapbook and when you finish one, you may begin a whole new process with another scrapbook album.
The beauty of scrapbooking is that you'll never run out of ideas because we're always thinking up new ideas for scrapbooking made simple and making memories throughout life to showcase in an effortless way.
HERE'S SOME OTHER SCRAPBOOKING ARTICLES THAT YOU MAY FIND HELPFUL
The Top 5 Scrapbooking Tools That Are Proven To Help You Create Better Layouts
12×12 Scrapbook Layouts Tips You Should Never Miss!
5 Tips To Creating Catchy Scrapbook Titles For Your Layouts
TOP 5 Scrapbooking Ideas I LOVE!
How to Scrapbook: The Ultimate 'Learning How to Scrapbook for Beginners'
Scrapbooking Tips: 10 Tips To Help You Create Even More Enchanting Pages!
5 Simple Scrapbook Organization Ideas and Tips!
Scrapbook Stores Online: Shop from the Top 7 Best Craft Stores
Contact Us | Login | Store | About | Reviews | Privacy Policy | Terms & Conditions | Returns
Copyright © 2025 by ScrapbookingCoach.com
We accept payment with:

