HOW TO MAKE YOUR OWN SCRAPBOOK STENCILS
Scrapbook stencils are amazing, right? But they can also be expensive and it can be frustrating trying to find exactly what you are looking for.
Have you ever thought about making your own scrapbook stencils? It's easier than you think and you can make them without purchasing any special equipment. Keep reading and I'll show you how.
THE TWO DIFFERENT TYPES OF STENCILS
There are two different types of stencils, positive and negative, and I will show you how to both make and use both of them. The technique for making them and using them is virtually the same.
A positive stencil is more like a silhouette of the actual image and protects your scrapbooking page while you paint or ink over the stencil. The below photograph is an example of a positive stencil.
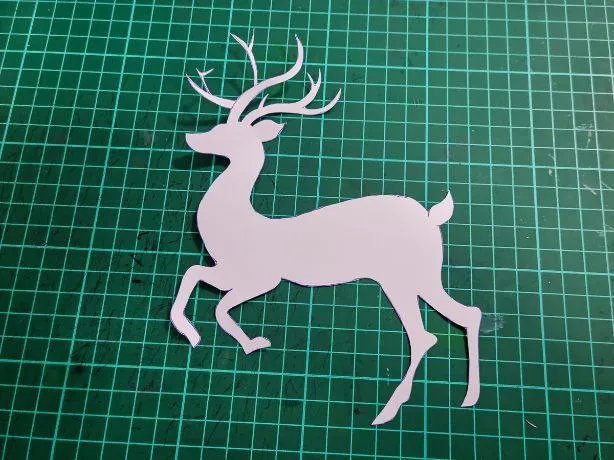
Can't find the right stencil design? Why not make your own!
A negative stencil is the exact opposite and is a cut out of the actual image or design. Negative stencils allow you to paint or ink inside the shape. Most letter stencils are negative stencils. Here is an example of a negative stencil.
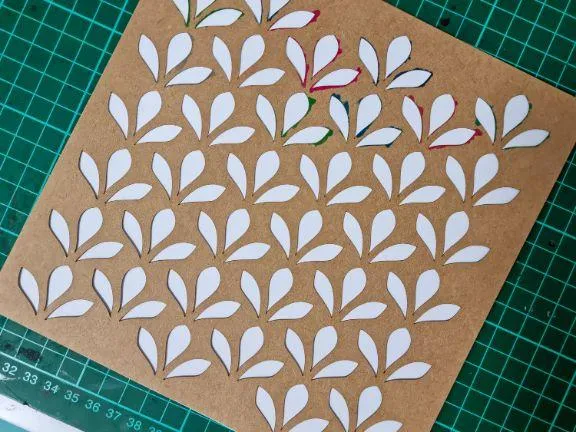
Create unique scrapbooking designs with DIY scrapbook stencils!
COMMON MATERIALS FOR MAKING SCRAPBOOK STENCILS
Mylar is the gold standard when it comes to scrapbook stencils as it can be wiped clean and used over and over again.
However, if you only plan to use the stencil a few times, there are plenty of other cheaper alternatives. Here are some common materials that you can use to make scrapbook stencils:
PAPER
Paper can be used to make stencils in a pinch but it nearly always ends up being a one-time-use stencil. This is because it's not durable, tears easily, and doesn't cope with getting wet.
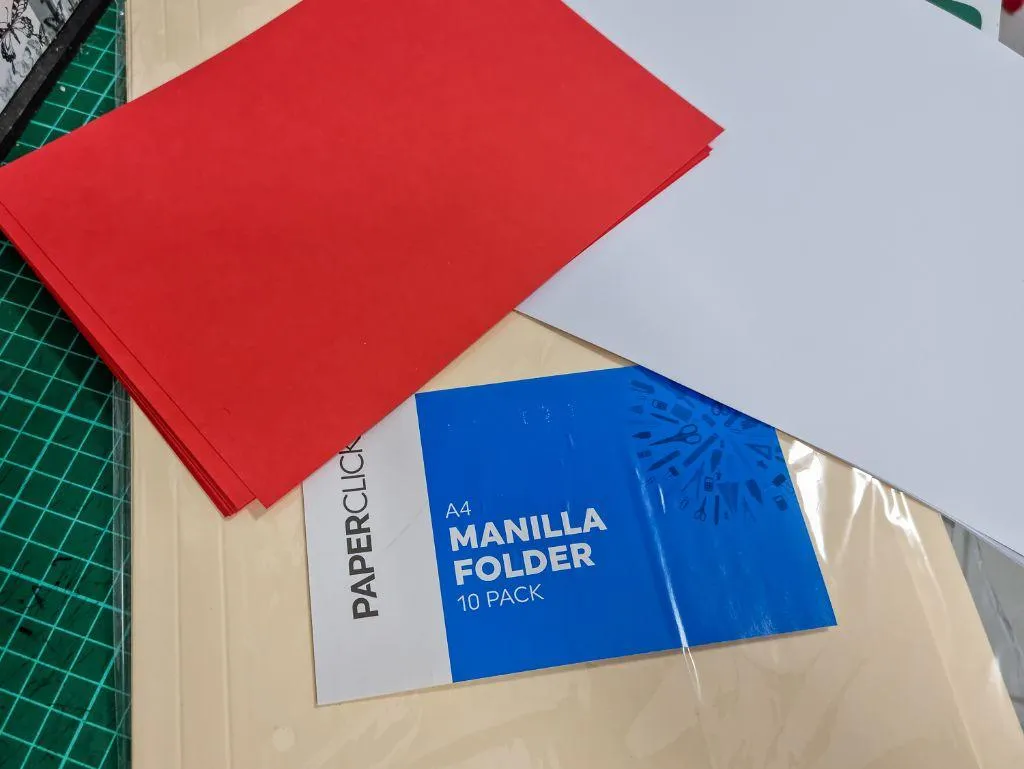
CARSTOCK
Cardstock or manilla folders work great for stencils and providing they don't get too wet, will work a few times before they need to be replaced. Cardstock is also easier to cut out by hand as despite being thicker, it doesn't tear as easily as paper when you are cutting out intricate details with your craft knife.
MANILLA FOLDERS
Using old manilla folders in place of cardstock is a great recycling tip! They are firmer than paper and have all the same pros and cons as cardstock.
MYLAR
Mylar is the best choice as it can be used over and over again. But what is Mylar? Well, it's actually the brand name of a type of polyester film (plastic film).
However, because the brand is so popular, the word ''Mylar'' is often used to generically describe all plastic sheets of film and not just the official Mylar brand.
Mylar is really durable, flexible (you can roll it up), and it can be wiped clean afterward to use over and over again. It will also cut easily both by hand with a craft knife and with a Cricut machine.
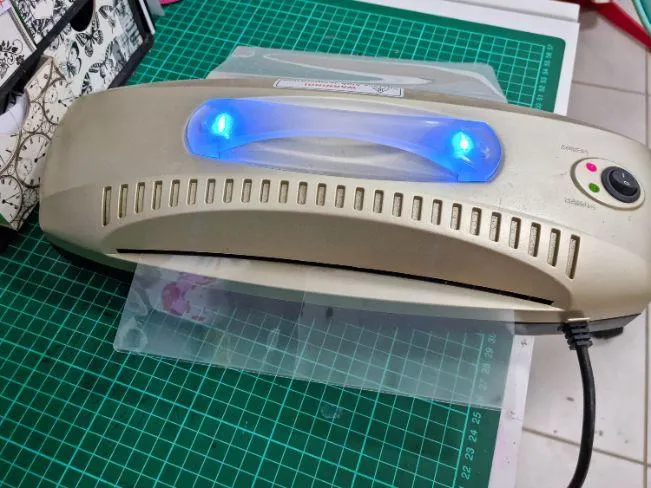
LAMINATING SHEETS
If Mylar is not available to you but you have a laminator, a laminating sheet works well as a substitute. Just run a sheet through the machine so that it adheres together and just like magic, you have your own sheet of plastic film.
HOW TO MAKE YOUR OWN SCRAPBOOK STENCILS
WHAT YOU WILL NEED
⦿Stencil material
⦿A Print out of your design
⦿Marker
⦿Craft knife
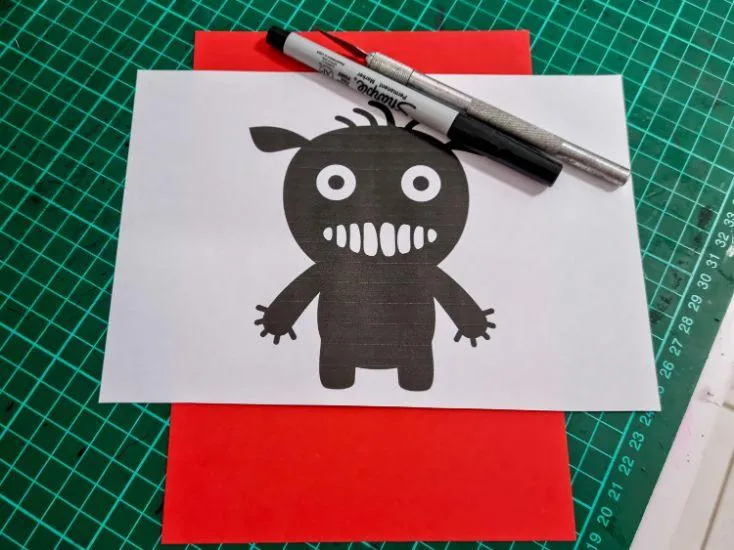
You will see in the photograph below that my design is quite childish. This is because I plan to use it on a scrapbook page for a young child and I want the background to look like a child created it. However, you can obviously choose any stencil design of your choosing.
HOW TO MAKE IT
Transfer the image onto your stencil material. This can be done in a number of ways.
If you are using paper- Simply print directly onto the paper.
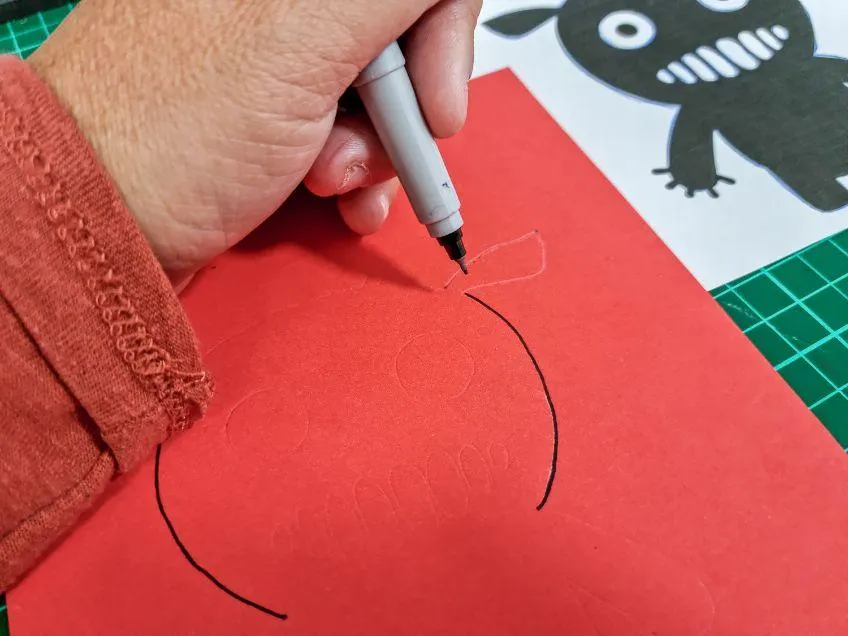
If you are using cardstock or a manilla folder- Start by printing out the image onto normal paper. Next, place the paper printout on top of the cardstock and trace over the image with a ballpoint pen. This will leave an indent in your cardstock underneath which you can then go over with a marker.
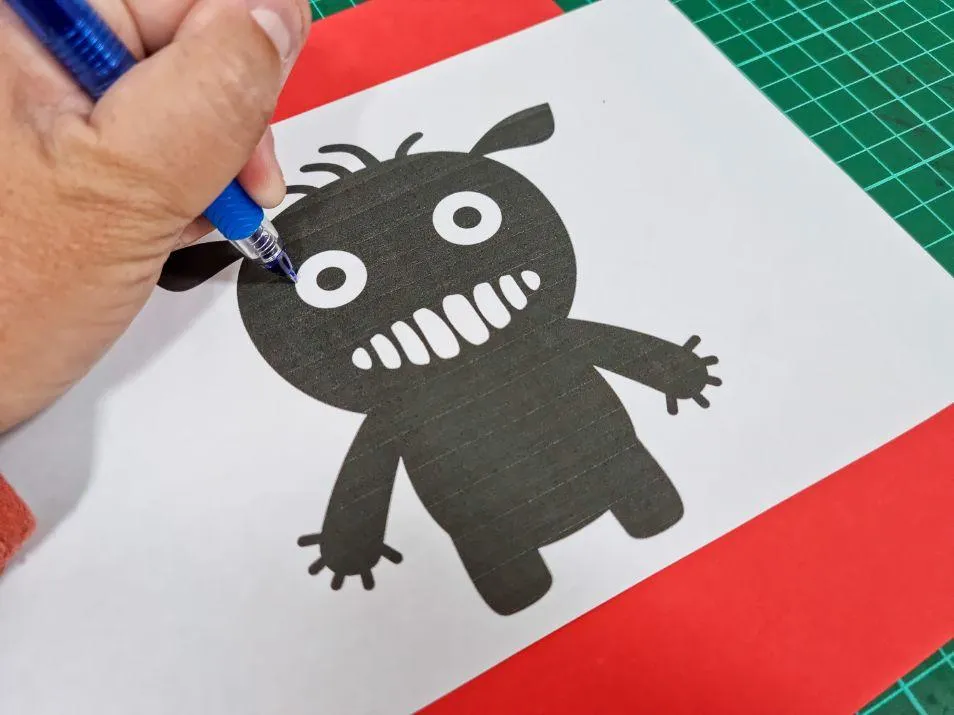
You will need to push down quite hard on the ballpoint pen to leave an indent. You can see in the photograph below there is a slight indent in the paper and I am drawing over the top with a fine tip sharpie marker.
If you are using a mylar or laminate sheet - Simply print out your image onto paper, place the plastic sheet on top and trace over with a marker. I am using a laminated sheet in the example below.


Next, using a craft knife, carefully cut out your design. This is one of those times where slow and steady wins the race!
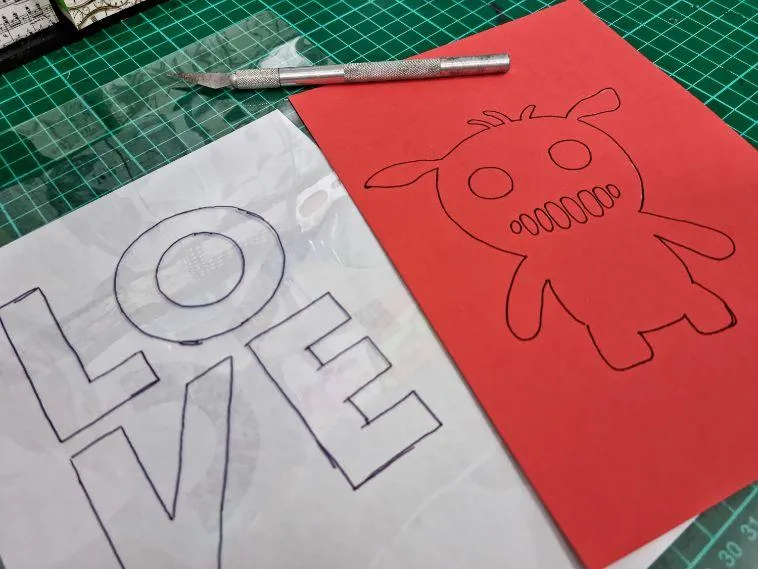
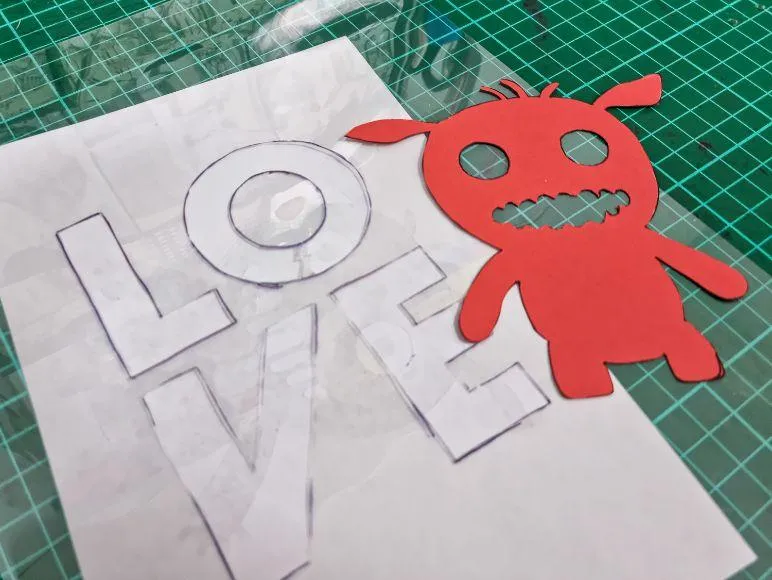
In the photograph below, you can see both my positive and negative designs have now been cut out.
USING YOUR CRICUT MACHINE
Of course, rather than cut your scrapbook stencil by hand, you can also use a Cricut machine if you have one. Just load it up with mylar, adjust your settings, and off you go.
HOW TO USE YOUR SCRAPBOOK STENCIL
Now for the fun part ... using your stencils! Stencils can be used in many different ways with a variety of different media, but here is a really simple way using paint to begin using your newly created stencils.
Place your stencil onto your scrapbooking page where you would like the final image to be. It's a good idea to use some sort of temporary adhesive to stick it down as otherwise, your paint or ink (or whatever media you choose to use) can sneak underneath the stencil.
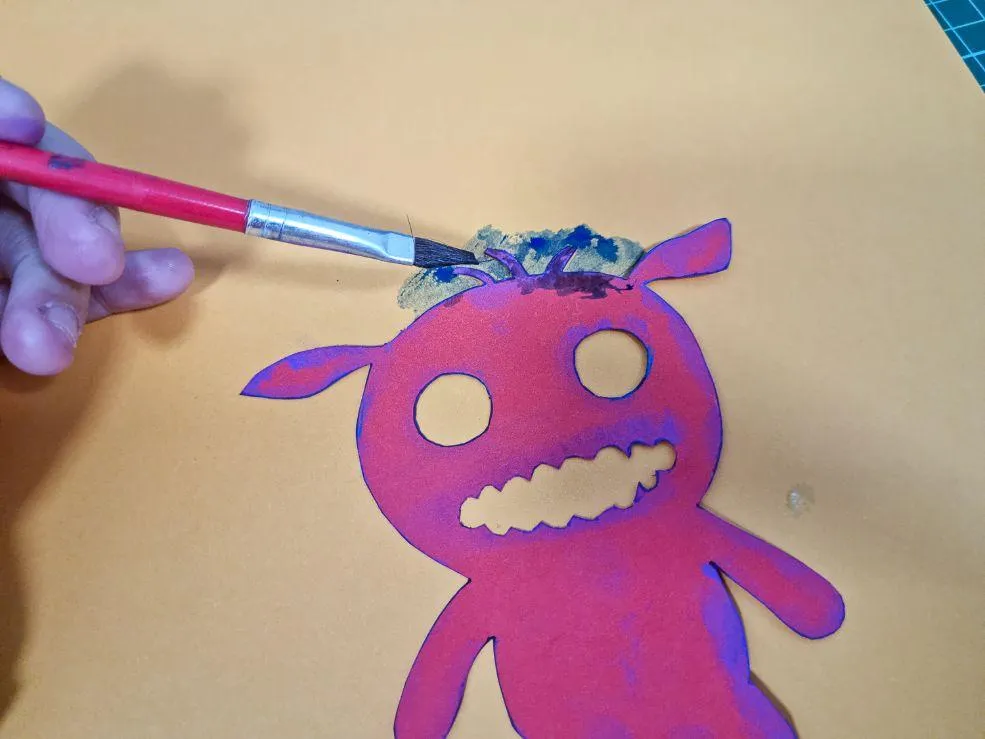
Next, load up your paintbrush and blob it around the edge of your scrapbook stencil. You can see in the photographs below that using the positive stencil, I am blobbing the paint around the outside of the stencil.
Don't limit your creative freedom with what's available in stores, Create your own stencils!
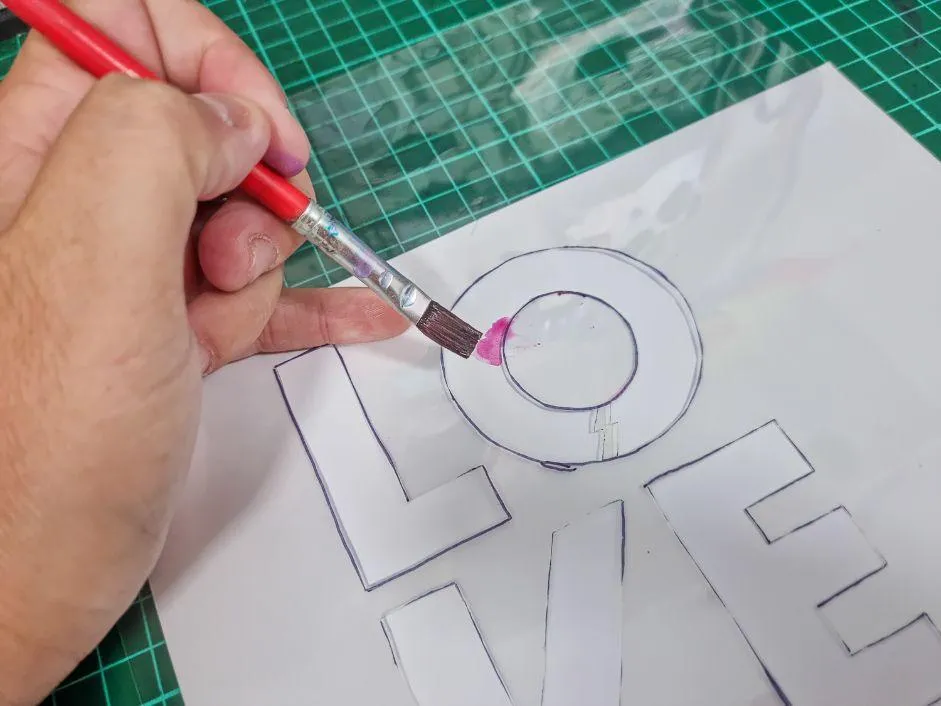
In the negative stencil below, you can see that I am placing the paint on the inside of the stencil. Now I haven't stuck this stencil down very well as I personally quite like a ''messy'' look of paint that has crept under the stencil. You will need to make sure your stencil is sitting flat against the paper to avoid this.
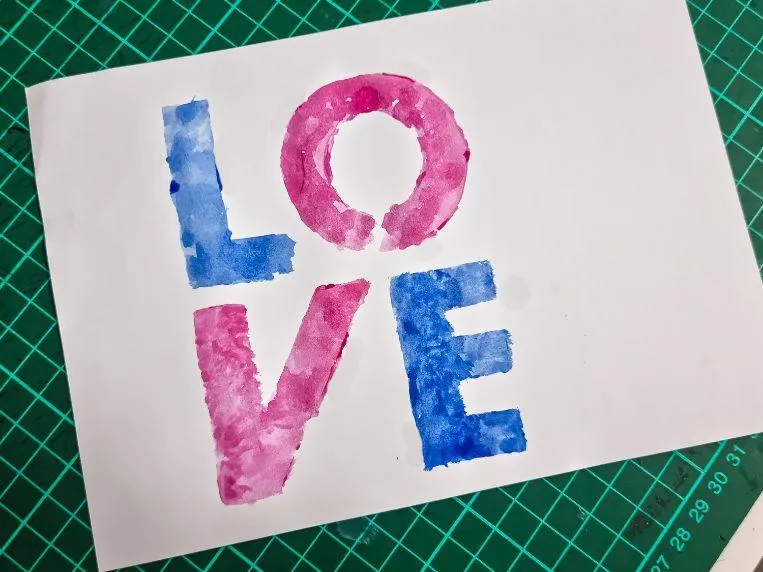
Below, is my finished ''messy'' result. Another way to get a much neater look is to use a medium that is not as runny as paint. You could try using ink by dabbing it over the stencil or even use a sponge to dab the paint on, ensuring that most of the excess is wiped off before using it.
Note: Check out our article "what do you need for scrapbooking" For more scrapbooking supply tips and tricks!
Now that you know how easy it is, I hope that you are inspired to have a go at making your own scrapbook stencils. We would love to see what you come up with.
Happy scrapping!
OUR BEST SELLING BOOKS


HERE'S SOME OTHER SCRAPBOOKING ARTICLES THAT YOU MAY FIND HELPFUL
The Top 5 Scrapbooking Tools That Are Proven To Help You Create Better Layouts
12×12 Scrapbook Layouts Tips You Should Never Miss!
5 Tips To Creating Catchy Scrapbook Titles For Your Layouts
TOP 5 Scrapbooking Ideas I LOVE!
How to Scrapbook: The Ultimate 'Learning How to Scrapbook for Beginners'
Scrapbooking Tips: 10 Tips To Help You Create Even More Enchanting Pages!
5 Simple Scrapbook Organization Ideas and Tips!
Scrapbook Stores Online: Shop from the Top 7 Best Craft Stores
Contact Us | Login | Store | About | Reviews | Privacy Policy | Terms & Conditions | Returns
Copyright © 2025 by ScrapbookingCoach.com
We accept payment with:
